Walkthrough 4-1: Create a Mule application with Anypoint Studio
In this walkthrough, you build a Mule application. You will:
· Create a new Mule project with Anypoint Studio.
· Add a connector to receive requests at an endpoint.
· Set the event payload.
· Run a Mule application using the embedded Mule runtime.
· Make an HTTP request to the endpoint using Advanced REST Client.
Create a Mule project
1. Open Anypoint Studio.
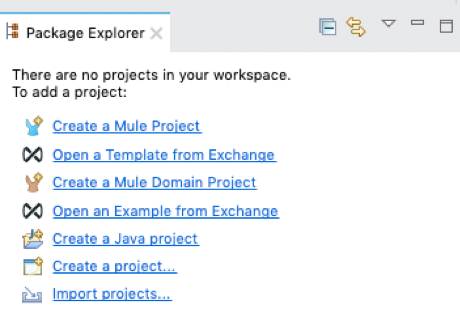
2. In the Package Explorer, select Create a Mule Project or select File > New > Mule Project if you already have a Mule project in your Studio workspace.
3. In the New Mule Project dialog box, set the Project Name to training4-american-ws.
4. Ensure the Runtime is set to the latest version of Mule.
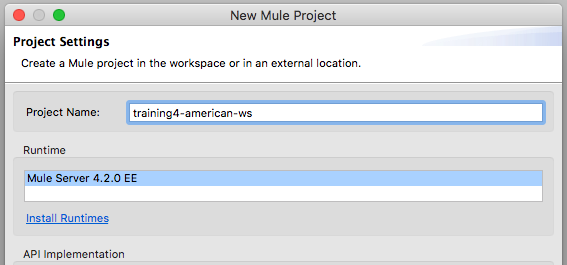
5. Click Finish.
Note: It is recommended that for greater product stability and to avoid excessive memory consumption you set the mule.apikit.parser VM argument for this new project as outlined in the Check for course updates and/or issues section of this course.
Create an HTTP connector endpoint to receive requests
6. In the Mule Palette, select the HTTP module.
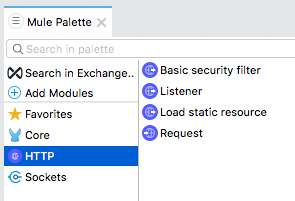
7. Drag the Listener operation from the Mule Palette to the canvas.
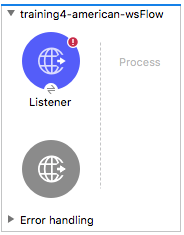
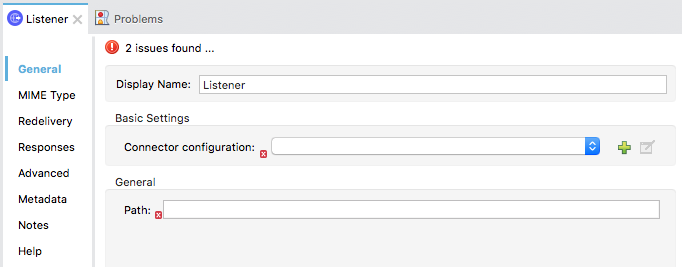
8. Double-click the HTTP Listener endpoint.
9. In the Listener properties view that opens at the bottom of the window, click the Add button next to connector configuration.
10. In the Global Element Properties dialog box, verify the following default values are present.
· Host: 0.0.0.0
· Port: 8081
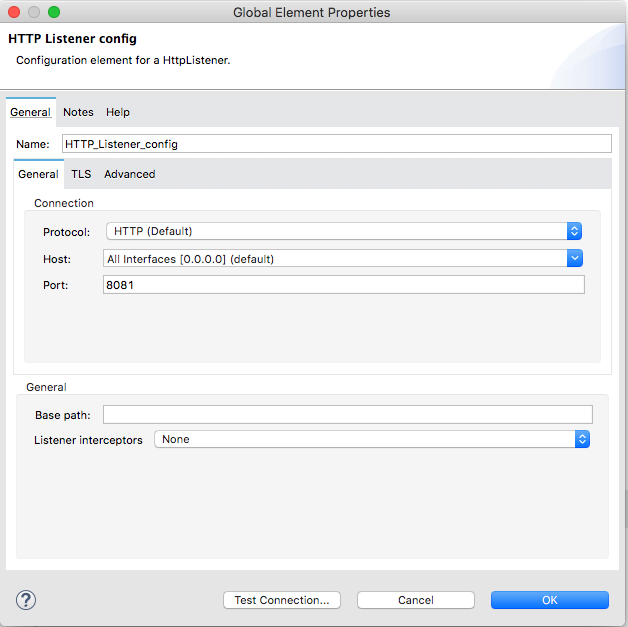
11. Click OK.
12. In the Listener properties view, set the path to /flights.
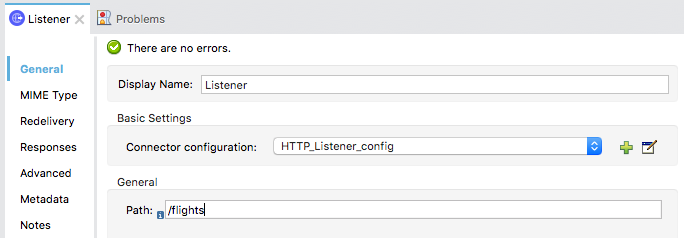
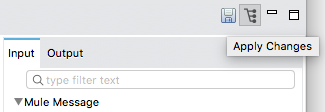
13. Click the Apply Changes button to save the file.
Review the HTTP Listener global element
14. Select the Global Elements tab at the bottom of the canvas.
15. Double-click the HTTP Listener config.

16. Review the information in the Global Element Properties dialog box and click Cancel.
17. Select the Message Flow tab to return to the canvas.
Display data
18. In the Mule Palette, select Core.
19. Scroll down in the right-side of the Mule Palette and locate the Transformers section.
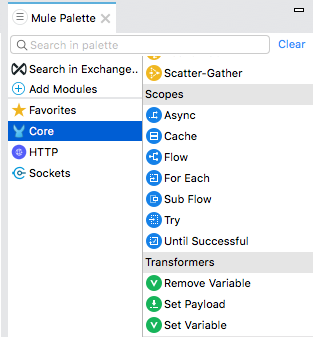
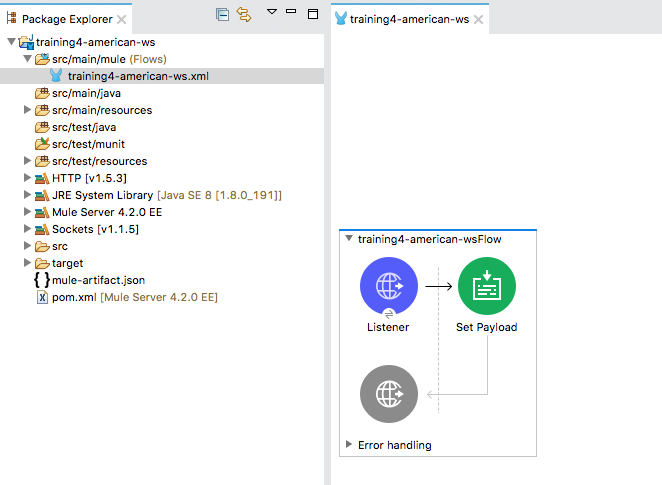
20. Drag the Set Payload transformer from the Mule Palette into the process section of the flow.
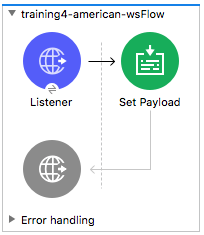
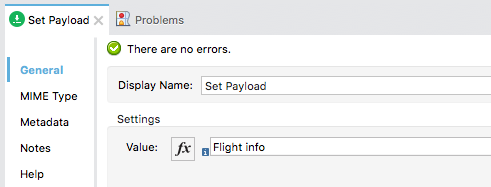
Configure the Set Payload transformer
21. In the Set Payload properties view, click the Switch to literal mode button for the value field.
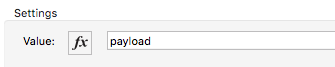
22. Set the value field to Flight info.
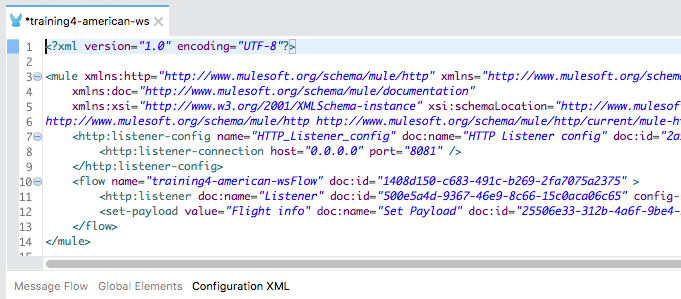
23. Select the Configuration XML tab at the bottom of the canvas and examine the corresponding XML.
24. Select the Message Flow tab to return to the canvas.
25. Click the Save button or press Cmd+S or Ctrl+S.
Run the application
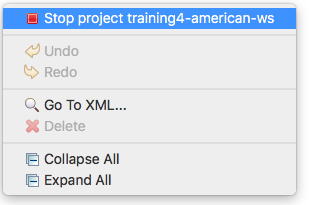
26. Right-click in the canvas and select Run project training4-american-ws.

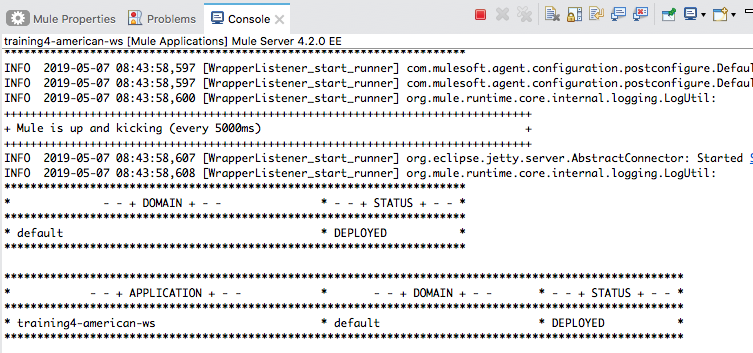
27. Watch the Console view; it should display information letting you know that both the Mule runtime and the training4-american-ws application started.
Test the application
28. Return to Advanced REST Client.
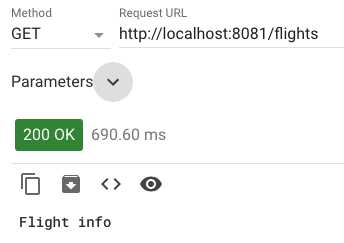
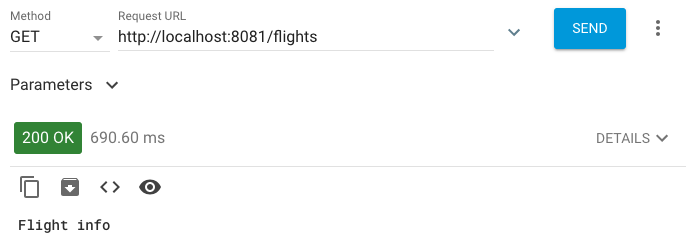
29. Make sure the method is set to GET and that no headers or body are set for the request.
30. Make a GET request to http://localhost:8081/flights; you should see Flight info displayed.
31. Return to Anypoint Studio.
32. Right-click in the canvas and select Stop project training4-american-ws.